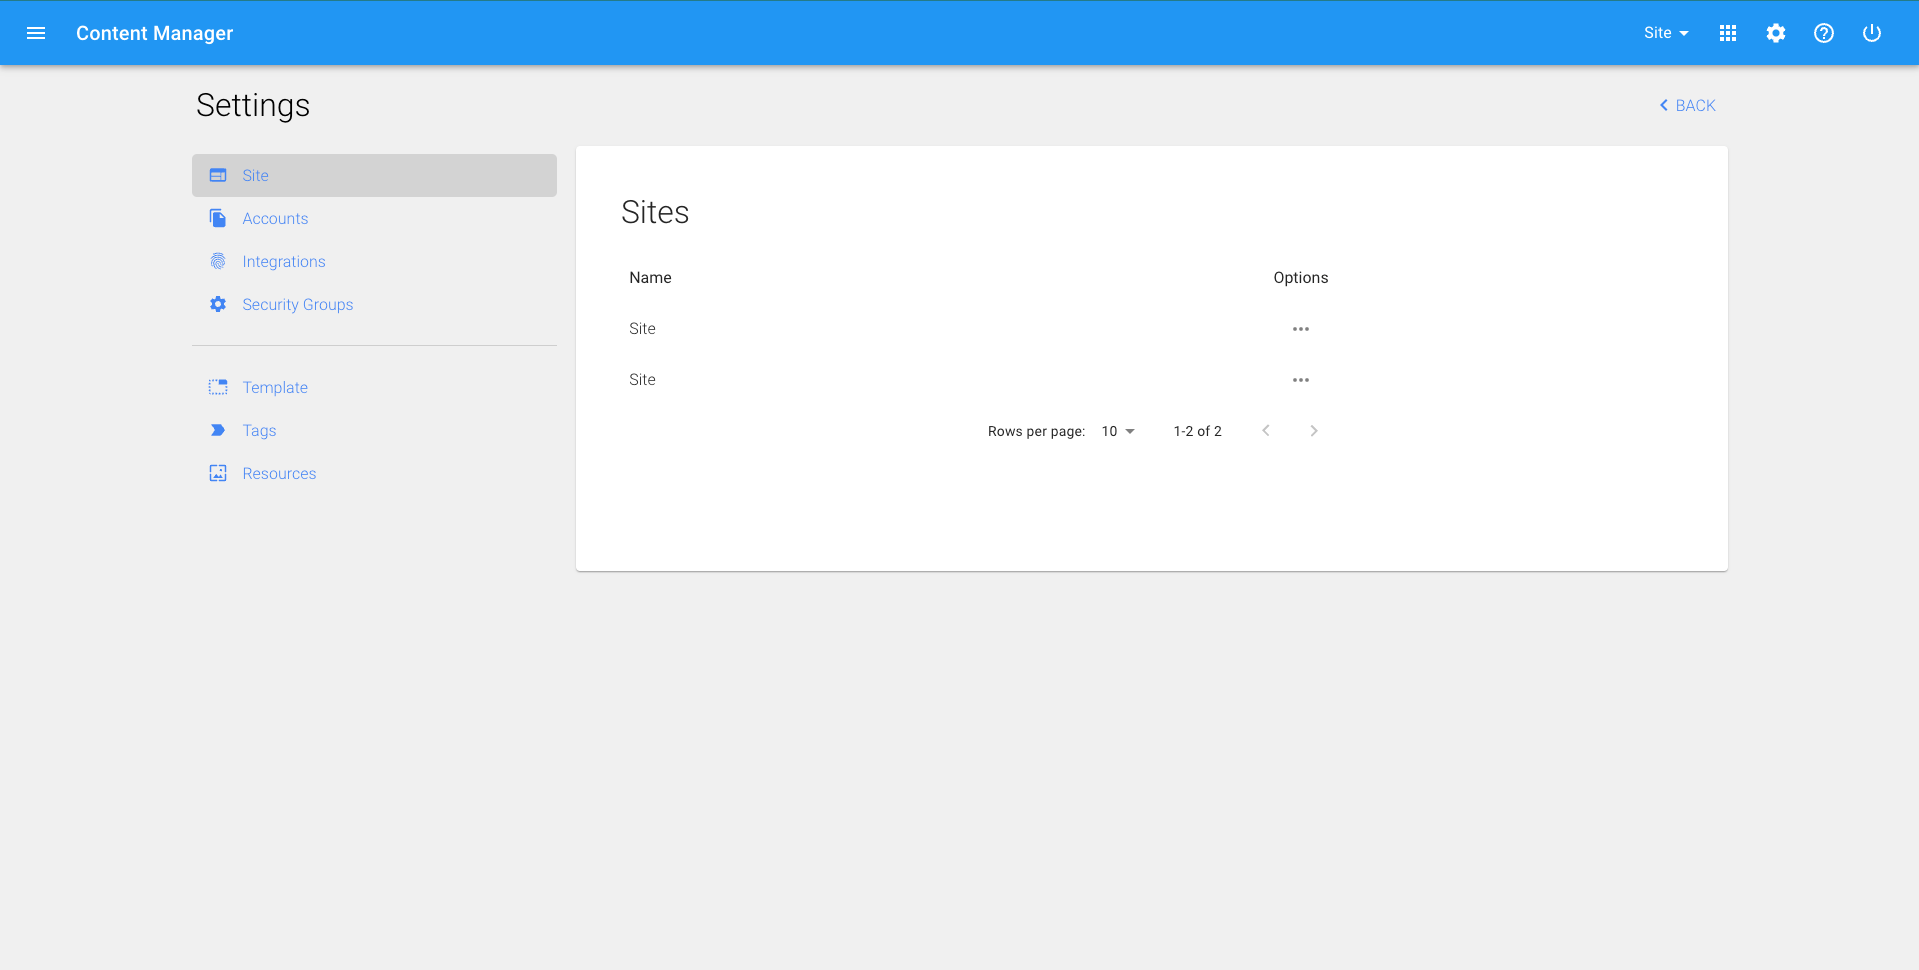
Settings
Within the Settings Manager, users with the correct permissions are able to interact with site settings, manage permissions/groups and explore back-end resources/templates.
Sites

➔ Add or edit site specific information, such as ◆ Address ◆ Phone ◆ Email ◆ Social media links and tokens ➔ Add site-specific tags ➔ Set a default SEO title, description and image ➔ The option to have a content curator in place to search an overuse of bold, italics, h1, etc. and recommend changes
Edit Site Settings
1. Click on the settings icon in the top right corner of any screen 2. Site Settings should load automatically, if not Click ‘Sites’ under left menu 3. Find the School/Site that you would like to edit (permissions may only allow you to edit select schools). Click the pencil icon under the ‘Options’ column. 4. You can add new settings at the top by entering a key and a value and clicking the + button 5. Alternatively, you can change existing values by simply removing what is in the box and replacing with the updated value 6. Click ‘Save’ in the bottom right
Select Site Tags
Choose from your site tags, such as 'high school', or 'french immersion', to make sharing content a little easier, these need to have already been created in Settings > Tags.
More about TagsDefault Search Engine Optimization
Title and Description The default title and description added here will be what is displayed on search engine results for pages with little to no content (like a contact page or calendar) or for pages where the SEO settings have been left blank in the page manager. SEO title and description will also be what appears on link previews when a link to the website has been shared on social media. Image An image added to the Search Engine Optimization settings will be the image that appears alongside a website's preview link when shared on social media. This default SEO image will be the image that appears if a specific page doesn't have its own featured image or SEO image. *For some websites, the default SEO image is what is used as a featured image on pages where another image has not been selected.
More about SEOInstagram Access Token
In Meta for Developers 1. Begin by navigating to developers.facebook.com (When undergoing this process for the first time, you will be prompted to create a “facebook developer” account based on your existing Facebook account) 2. Click on ‘My Apps’ in the far right of the navigation bar 3. Select an existing application or create a new one 4. Open the dropdown for ‘Instagram Basic Display’ in the side menu and select ‘Basic Display’ 5. Scroll down to Token generator and beside your existing tester, click ‘Generate Token’ (or add a new Instagram tester) 6. An instagram pop up will appear that you need to ‘Allow’ 7. Your token window will now appear, you must click the checkbox beside ‘I understand’ in order for it to show; then copy your token In Content Manager 8. In the bottom left corner of the Site Settings editor window, click ‘Secure’ 9. If not already added, enter key ‘InstagramAccessToken’ and paste the generated token in the value field, click the + to add 10. If updating the token, simply remove the value field entry and replace with the new token value 11. Click ‘Save’
