Settings
Within the Settings Manager, users with the correct permissions are able to interact with site settings, manage permissions/groups and explore back-end resources/templates.
Tags
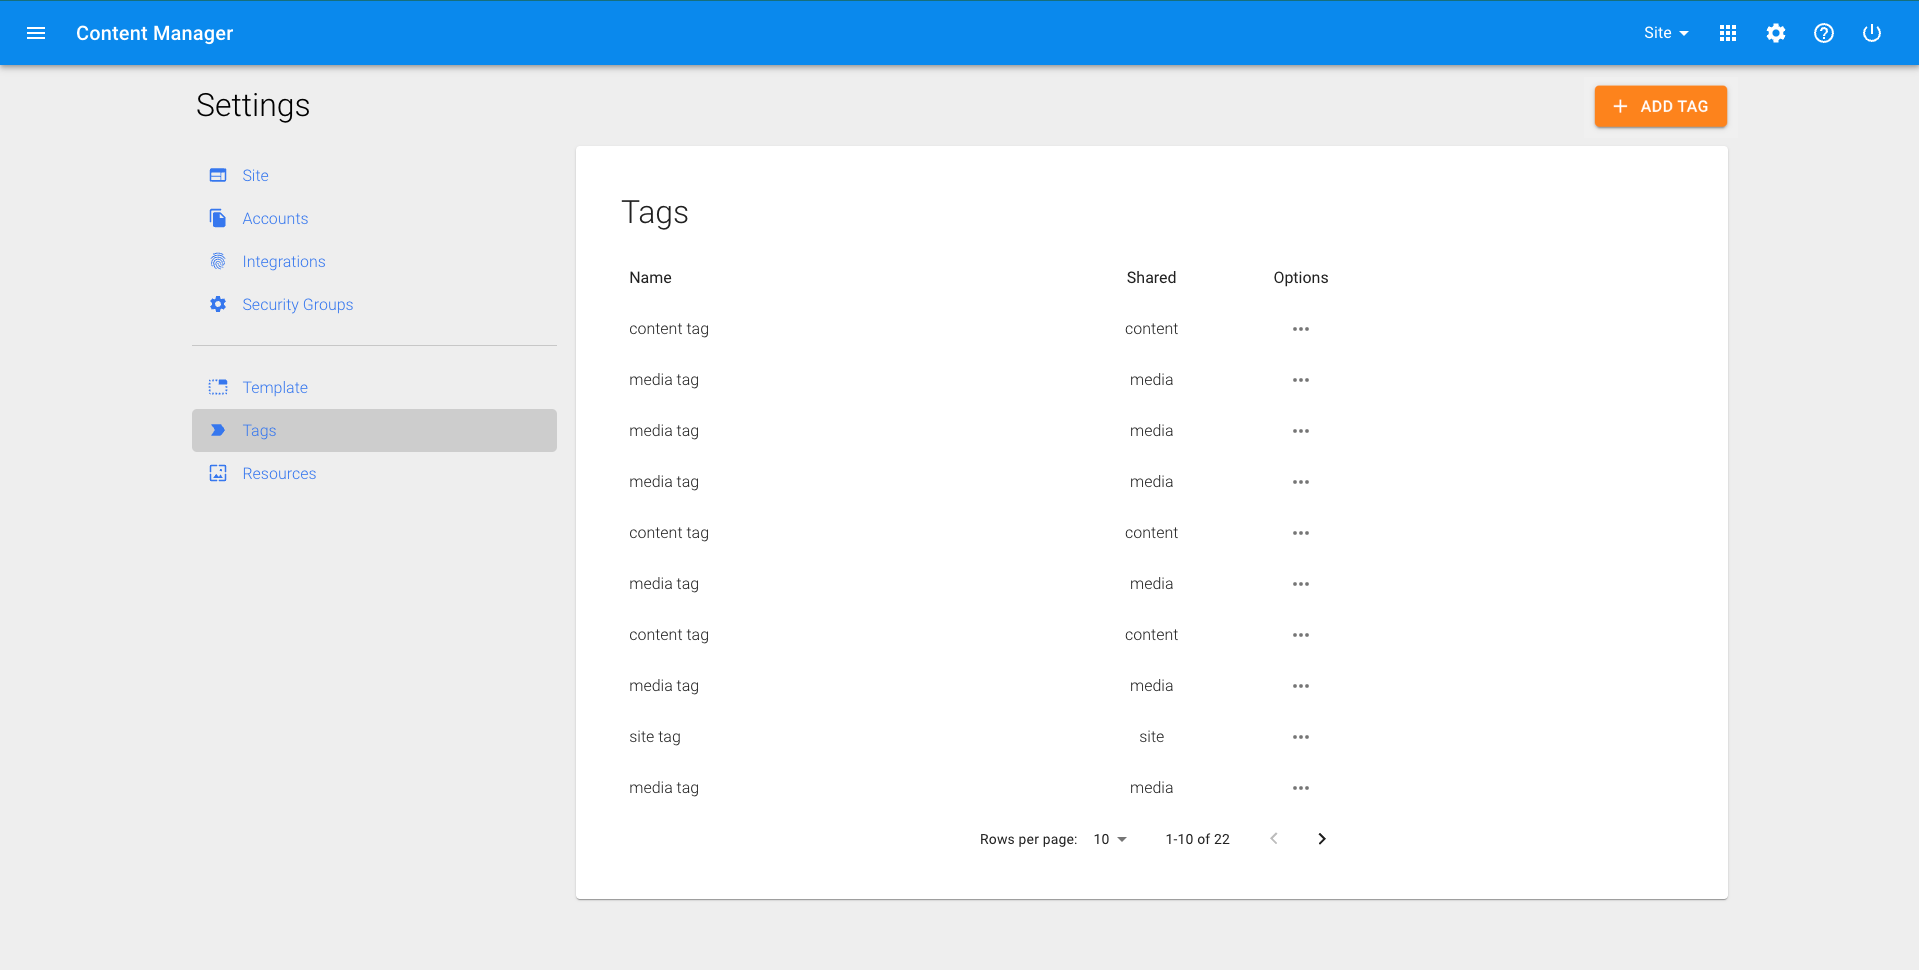
Within the tag editor, users are able to add or edit site tags to be used for sites, media, and content. Tags can be used in a variety of areas within Content Manager and have a selection of use cases.

Site
➔ Site tags allow easy filtering when sharing content in Content Manager. Assign site tags to sites in the ‘Sites’ area of Settings ◆ With site tags in place, a user can select ‘High School’ when creating content which will share that content to all schools that have been tagged as high school
Content
➔ Content tags allow us to filter out specific content to be shown on selected pages of the website and as a result, have a customizable view. Assign content tags in the page/news/events editors ◆ News: Display or hide news with certain tags from specific areas of the website. For example, we can display ‘Baseball Academy’ tagged news on a landing page for a baseball academy. ◆ Pages: Display a list of links to pages with a specific tag. For example, a Careers landing page could show a dynamic list of any pages tagged as Career. ◆ Events: Display a list of tags on the calendar page as checkboxes, allowing users the ability to filter events.
Media
➔ Media tags allow for easy filtering when searching for images or documents in Content Manager. Assign media tags in the image/document editors and uploaders
Add a New Tag
1. Click on the settings icon in the top right corner of any screen 2. From the settings manager, click on 'Tags' on the left side 3. In the top right corner, click on 'ADD TAG' 4. Name your tag and select whether this is a site, media or content tag. Each has a different use case within Content Manager 5. Click 'Agree'
Edit an Existing Tag
1. Click on the settings icon on the top right 2. Click ‘Tags’ 3. Click the pencil icon under ‘Options’ column 4. Rename the tag then hit ‘Agree’
