Pages → Page Editor
The Page Manager lets you view and search all Pages associated with your School/Site. From this you can open the Page Editor through creating a new page or editing an existing page.
Within the page editor, users with the site-only permissions are able to interact with page settings and content in a variety of ways. The following is applicable for site specific pages only (not applicable to shared pages).
Page Settings and Controls:
➔ Change a page title/name ➔ Change a page route (URL) [Warning: this can cause broken links] ➔ Assign tags to a page ➔ Set content visibility as public or staff. ➔ Assign page to navigation. ◆ by clicking 'Assign to Sitemap' (If Advanced Options has been selected, click 'Use Site Map' then 'Assign to Sitemap') a new window will open displaying the navigation explorer, from this page you can drag and drop your page into your desired location
Pages within Content Manager can be built using each of the following template types, each with its own set of capabilities. Note: As each page design or template can be customized by our team, the experience of editing a page may vary from page to page.
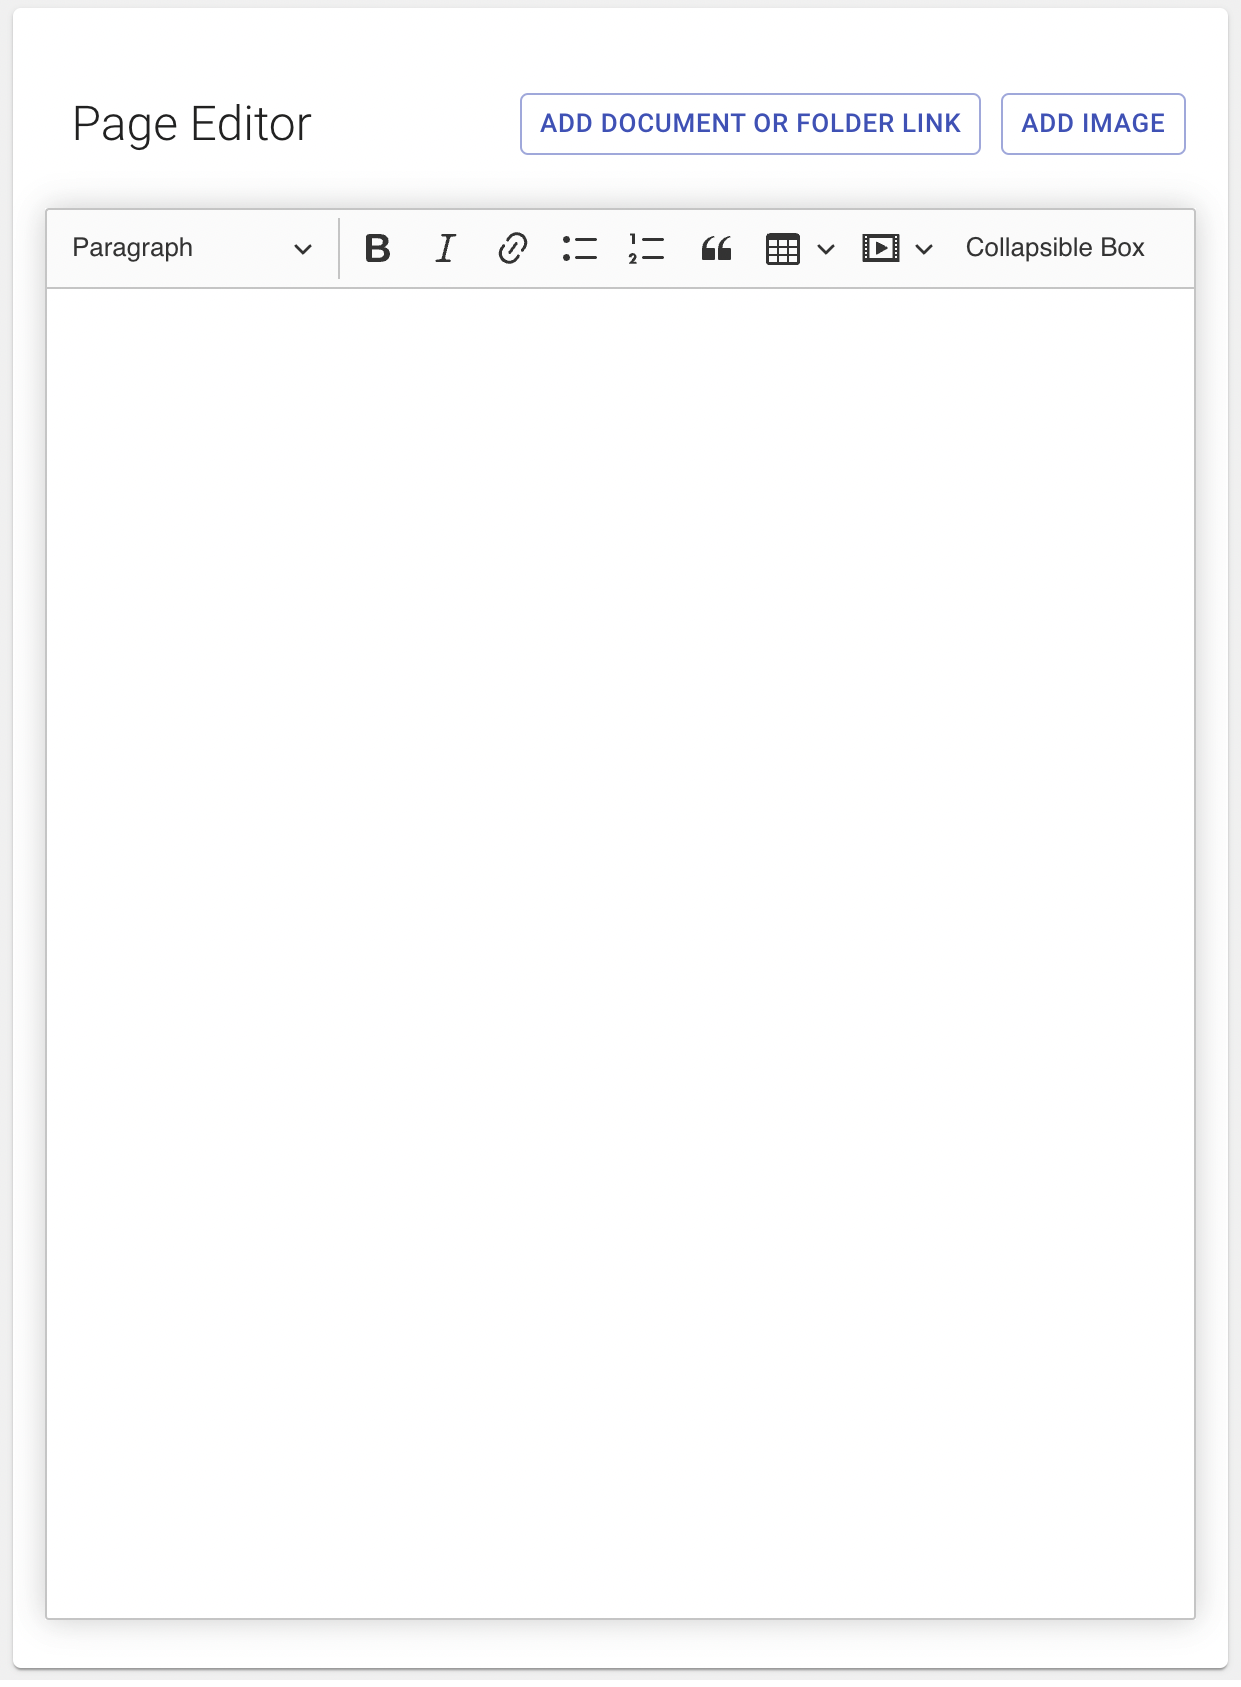
Rich Text Editor
➔ Link to a document from the Document Manager. ➔ Add images from the Image Manager. ➔ Add and edit page content using a WYSIWYG editor that includes: ◆ Font Styling (Paragraph and Headings) ◆ Bold/Italic ◆ Hyperlink creation ◆ Bulleted lists ◆ Numbered lists ◆ Block quotes ◆ Tables ◆ Embedded YouTube links ◆ Collapsable box/content section creation When to use a Rich Text Editor: for basic pages that require hyperlinked text, tables or lists.

DCT Editor (Data Capture Table)
The most customizable of page templates, DCT templates are custom-built to reverse engineer complex designs into easy-to-use forms and content sections within Content Manager. Templates can vary depending on design, however, the following capabilities are standard for each page: ➔ Select a featured image. ➔ Add or edit the page introduction heading and/or paragraph ➔ Add, edit, reorder or delete content sections. Content sections are blocks of page content that can feature any combination of the following: ◆ Title ◆ Subtitle ◆ Body text ◆ Option to center or right-align text ◆ Buttons ◆ Images with the option to align to the left or right of text. ◆ Link to a document or folder within Content Manager. ◆ Embedded links for Vimeo, YouTube, GoogleDrive Folders ◆ Option to add borders and extra spacing ➔ Documents section: ◆ Title ◆ Intro text ◆ Labeled links to documents/folders ● Links to document folders will open a new page which displays the folder’s documents and any subfolders. See Link to a Document or Folder for step by step instructions. ➔ Icon links section: ◆ Title ◆ Intro text ◆ Labeled links with chosen icons ➔ Content box section: ◆ Title ◆ Intro text ◆ Custom styled content boxes with options for title, text, images and link ◆ The option to reorder or delete content boxes ➔ Content tabs section: ◆ Title ◆ Intro text ◆ Custom styled content tabs with options for title, text, images and links ◆ The option to reorder or delete content tabs ➔ Photo gallery section: ◆ Title ◆ Intro text ◆ Images (with optional captions) which display as a thumbnail and open in a lightbox. ➔ Simple links section: ◆ Title ◆ Intro text ◆ List of simple labeled links Although we are able to customize DCT templates in a number of ways, we are unable to merge the functionality of a Rich Text Editor into a DCT. When to use a DCT: For all normal pages Some pages may need to be created with a custom template in order to suit your needs. Please reach out to us at support@imagineeverything.com and let us know what you are looking for.
More about Editors★ Remember to Save All Sections Before Publishing! ★
Each section of a DCT page must be saved before hitting Publish in order for changes on those sections to go live. If you find that you've made changes but they aren't appearing on your website, missing a 'Save' is the most likely reason why. On sections that allow for multiple rows of content, there is an extra step. On a new row, you must 'Add' the row (bottom left), then 'Save' the section, and 'Publish. When making a change to a row, that 'Add' button will instead be 'Update'.

1 - Add/Update; 2 - Save; 3 - Publish
SEO (Search Engine Optimization)
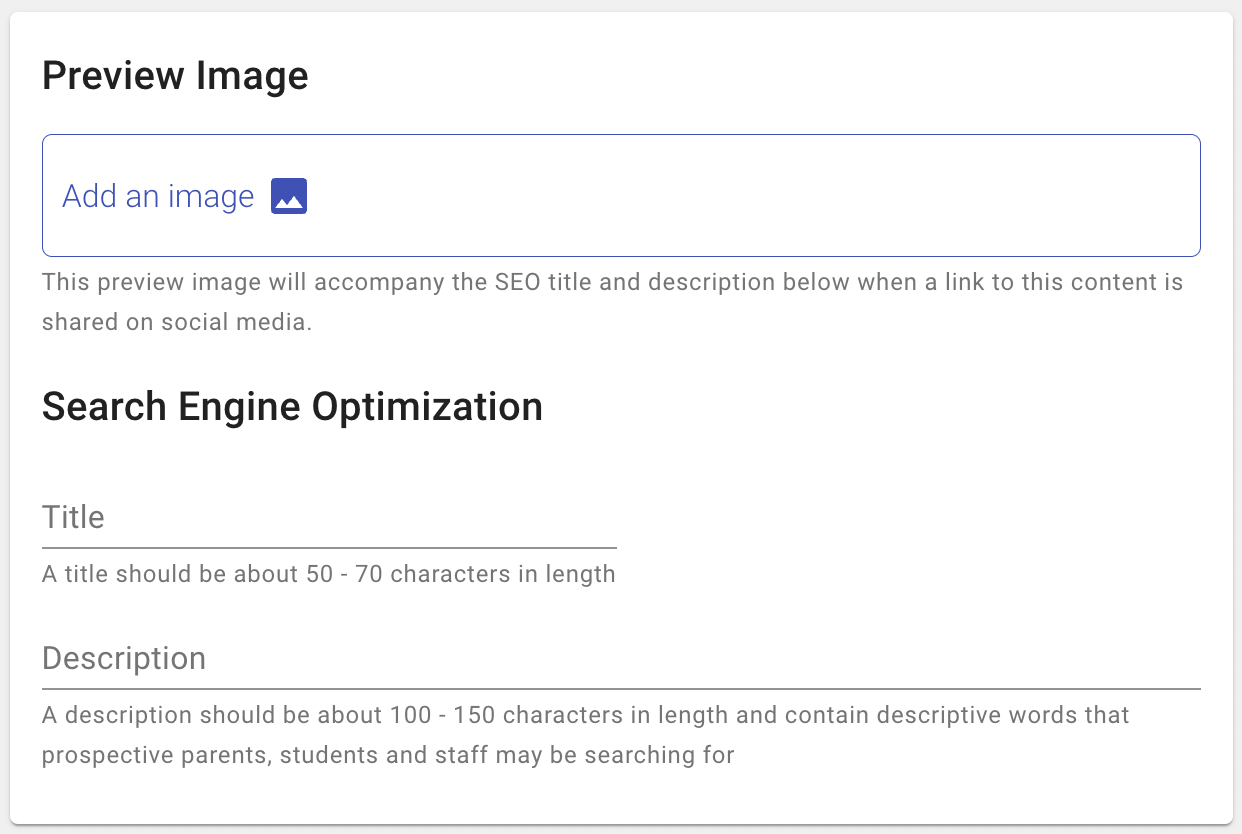
Regardless of the page type, users are able to add or customize SEO attributes per page, including: ➔ Image (for social media preview links). ◆ the image will also appear at the top of the page ➔ Meta title ➔ Meta description
More about SEO
Page publishing and status tools:
➔ Preview the page you are working on ➔ Draft a page for future publishing ➔ Publish page
More about Status Tools