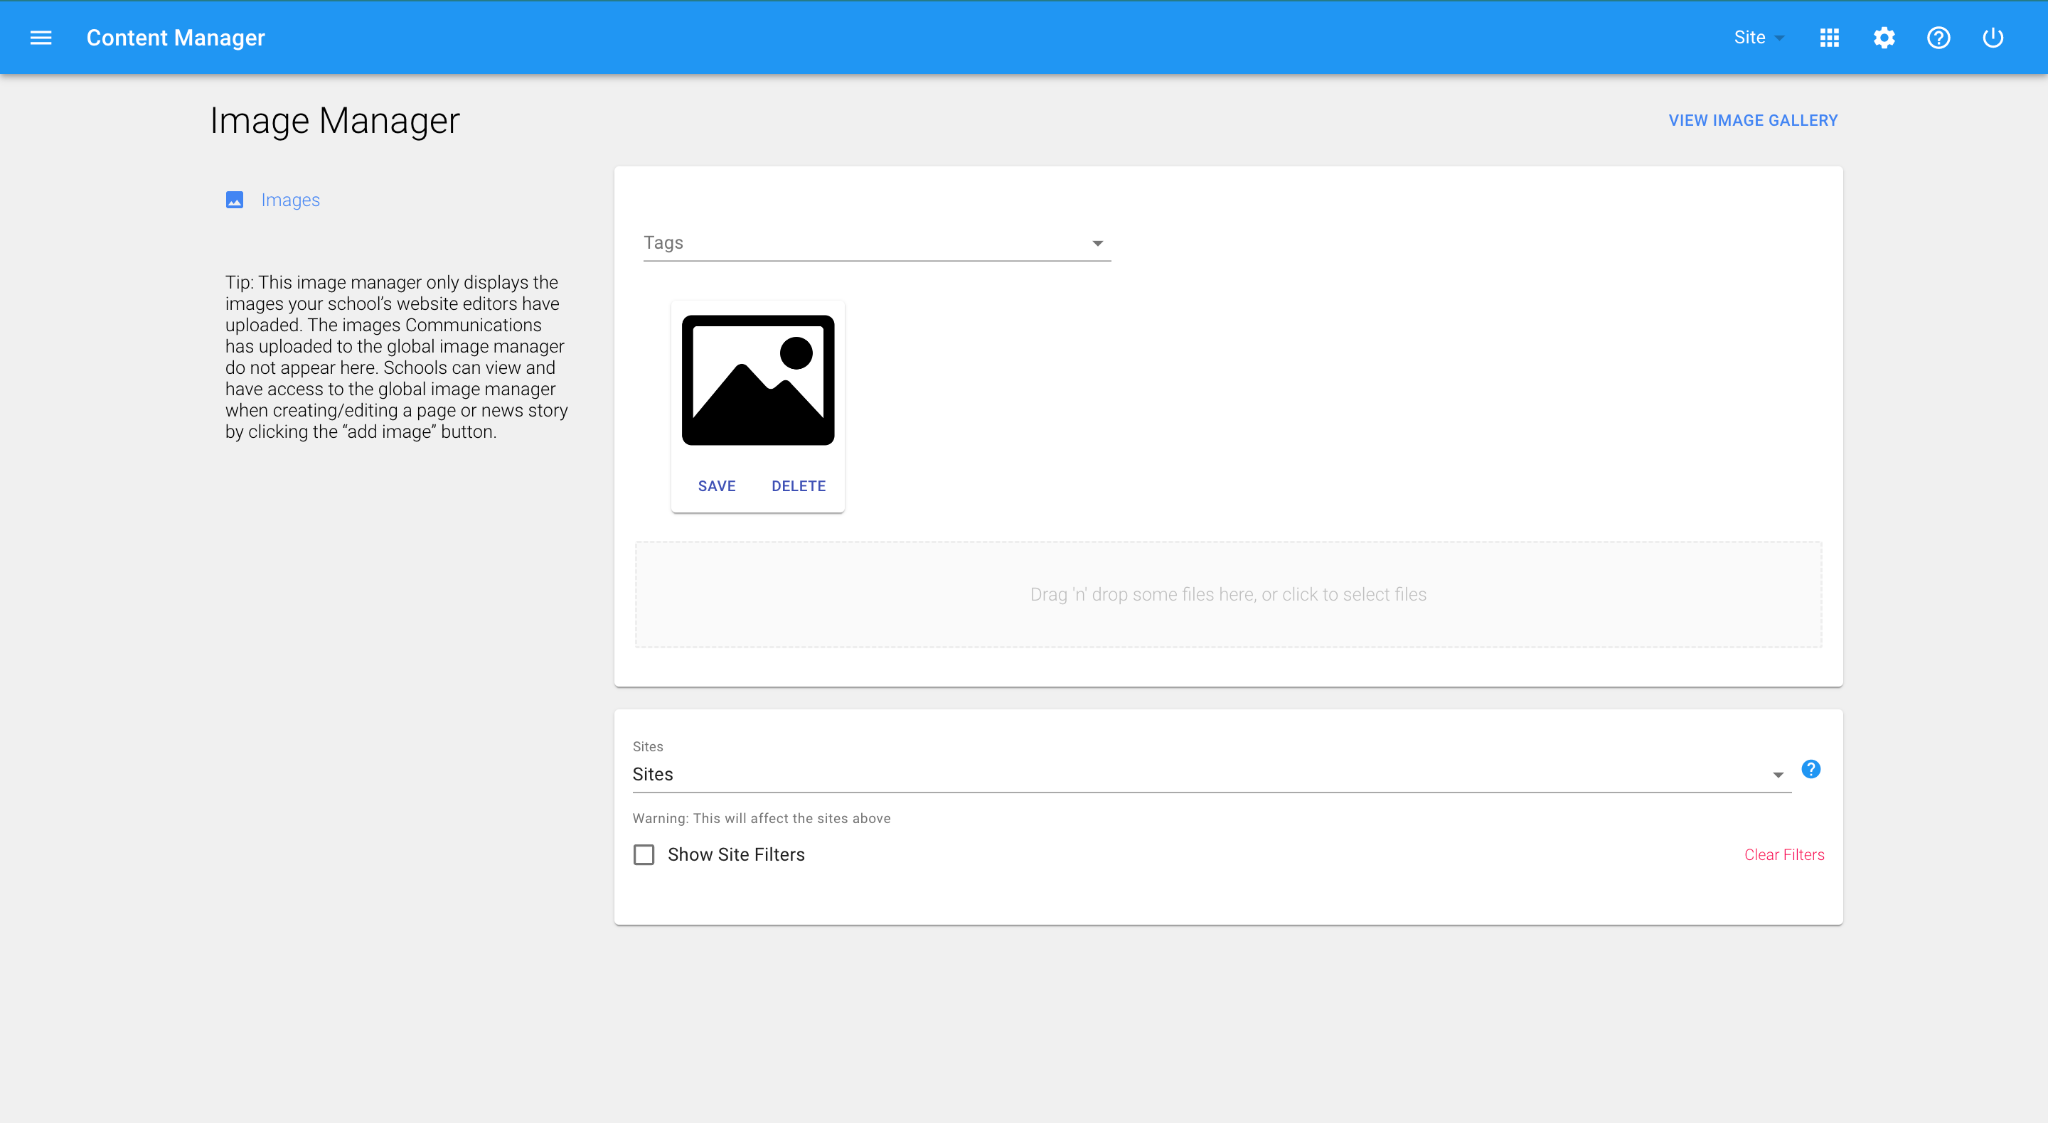
Images → Image Uploader
The Image Manager stores all images associated with your School/Site. You can open the Image Uploader by adding new images through the manager or from Pages/News/Events/Alerts, or the Image Editor by clicking on an image in the gallery to edit aspects or replace the image.

➔ Assign tags to an image or group of images ➔ Drag and drop or select images from a folder on your computer ➔ Set which sites an image(s) will be shared with
Uploading Images
From the Image Manager
1. Click on the hamburger menu and choose 'Images' 2. Click 'Add Image' and upload your image(s) 3. Optionally, select the tags that best describe your image to make it easier to find later 4. If your image will be used on more than one site, select the other sites from the dropdown 5. Hit ‘Save' under each image
From the Pages/Events/News/Alerts Editors
1. From within your content, either in a Rich Text Editor or DCT template 2. Click 'Add Image' and upload your image(s) 3. Optionally, select the tags that best describe your image to make it easier to find later 4. If your image will be used on more than one site, select the other sites from the dropdown 5. Hit ‘Save' under each image 6. Select the image that you want to use in your content (it will appear at the top on the left side of the page)
Resizing and Optimizing Images
Featured images or other instances of full-screen-width images should be no larger than 1920px wide. Images that are added within content containers can be 1500px wide or smaller. It is also highly recommended that images are compressed before uploading to the Image manager. This helps to ensure fast page loading times. TinyPNG.com allows you to easily upload and compress images.
More Image Resources and Tools